My partner has been asking me to make her a Cotton Candy Machine for ages... We finally decided to build it this-afternoon at about 4pm. Pretty late to start a project like this, but it seemed pretty easy.. didn't take too long and what we ended up with worked quite well, but It's more what I'd call a 'proof of concept' rather than a fully functional machine.
The principle of operation is that you heat the sugar to melt it and make it elastic, and the rotating bowl causes significant centripetal force on the melty sugar in an outwards direction. Ideally you want it all to escape through the fine holes in the rotating bowl, but we had lots of it exit out the top of the open bowl as you'll see in photos below.
We used a coke can, a motor, gearbox and mount from an old RC aircraft that i'd upgraded, an RC motor speed controller, an Arduino microcontroller, a 2k potentiometer (pot), and a 3 cell lithium polymer battery to power it all.
The bottom 1/3 of the coke can is used for the rotating bowl and has holes punched in it every 5 mm or so. It mounts to the gearbox output shaft with a couple of nuts and washers with a precision drilled hole in the centre. The gearbox, motor and mount made the whole thing very quick and easy to put together. The Arduino drives the motor speed controller with PWM and uses the servo library plus a very basic bit of code to read the pot value to do so. I also added some serial debugging so I could log what was actually happening. The motor speed controller has a 5v regulated output normally used in RC applications to drive the RF receiver and other servos, but in this case, it powers the micro via the 'Vin' pin.
The reason for the complexity in the motor speed control is due to the fact that the motor is a 3 phase motor, extremely common in medium to high power modern electric RC planes, cars and boats.

Figure 1: Top down view
As you can see from the pictures above, its pretty 'rustic' in its current form. The microcontroller and battery floats around loose, the potentiometer (the 'volume' knob, or pot) is double side taped to the bit of wood, and the motor mount, gearbox and rotating bowl is mounted on the other end. The main reason I doubled side taped the pot down was so i could rest my right hand on the board to stabilise it and adjust the pot one handed, whilst operating the blow torch in my left hand to heat the rotating bowl.

Figure 2: Another shot down the length

Figure 3: Motor, gearbox, stand, and rotating bowl
The rotating bowl was made from the bottom 1/3 of a coke can. I sanded the bottom of an empty can first, washed off the resulting muck, cut it to size with a hobby knife blade spaced off the bench with a thick book, and then punched holes in the bottom every 5-7 mm.

Figure 4: Plus paper shield
As this is a proof-of-concept, we took 4 sheets of a4 paper, and stuck them together in a ring to put around the whole thing to catch everything coming out. The yellow looking line is from the burn sugar that flew out the top of the can. This problem will be resolved in the next revision of the machine.
It hangs off the edge of the table so I can get the blowtorch neck up inside to heat the can up.

Figure 5: Inside the shield

Figure 6: cobwebs? No, thats the cotton candy forming!
It works!!
Note: you can see 2 blue spots in the can.. thats the flame from the blowtorch.

Figure 7: The whole contraption, including the blowtorch
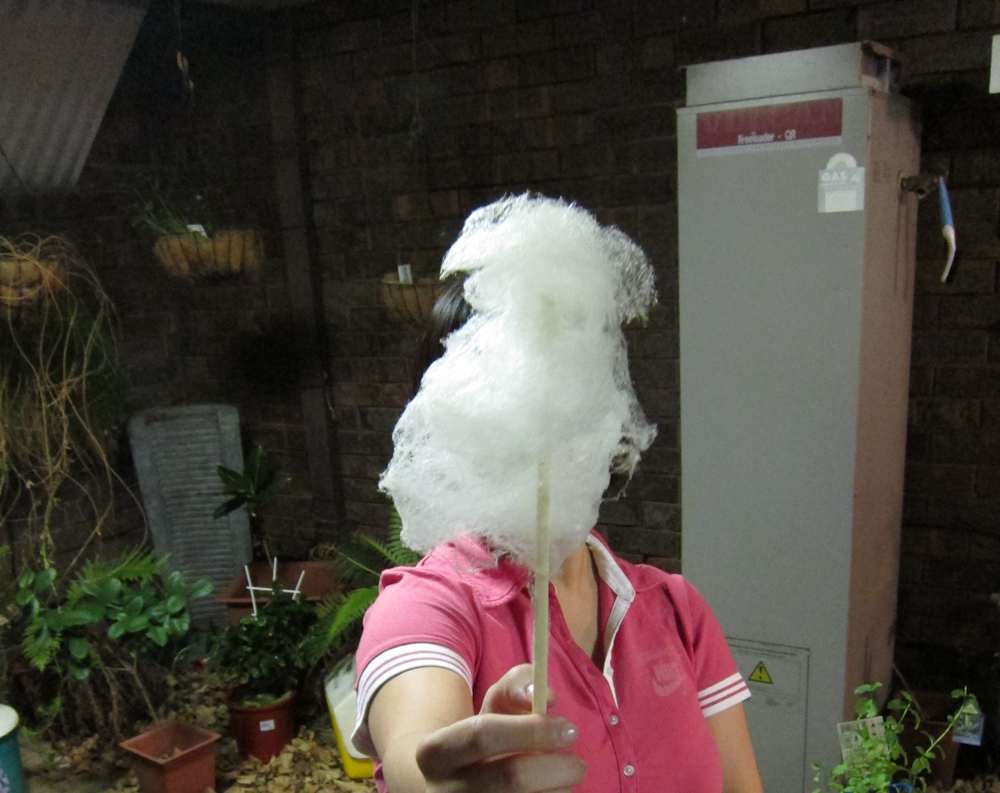
Figure 8: My partner, Meh, holding onto her prized cotton candy!

Figure 9: The inside of the paper shield after use

Figure 10: A chunk of the yellow sugar off the paper shield.

Figure 11: The madman with the blowtorch!
Yes, I really and crazy enough to use a blowtorch to make cotton candy :D
Needless to say, if you try this at home and burn your house down... HAHAHAHAHAHAHAHA.. I mean, don't try this at home :)
No comments:
Post a Comment